Just like baking, a renovation has a “recipe” of its own too.
We present our “Reno-cipe,” complete with the steps and “ingredients” needed for a home renovation.
Baking your perfect home in 3 stages
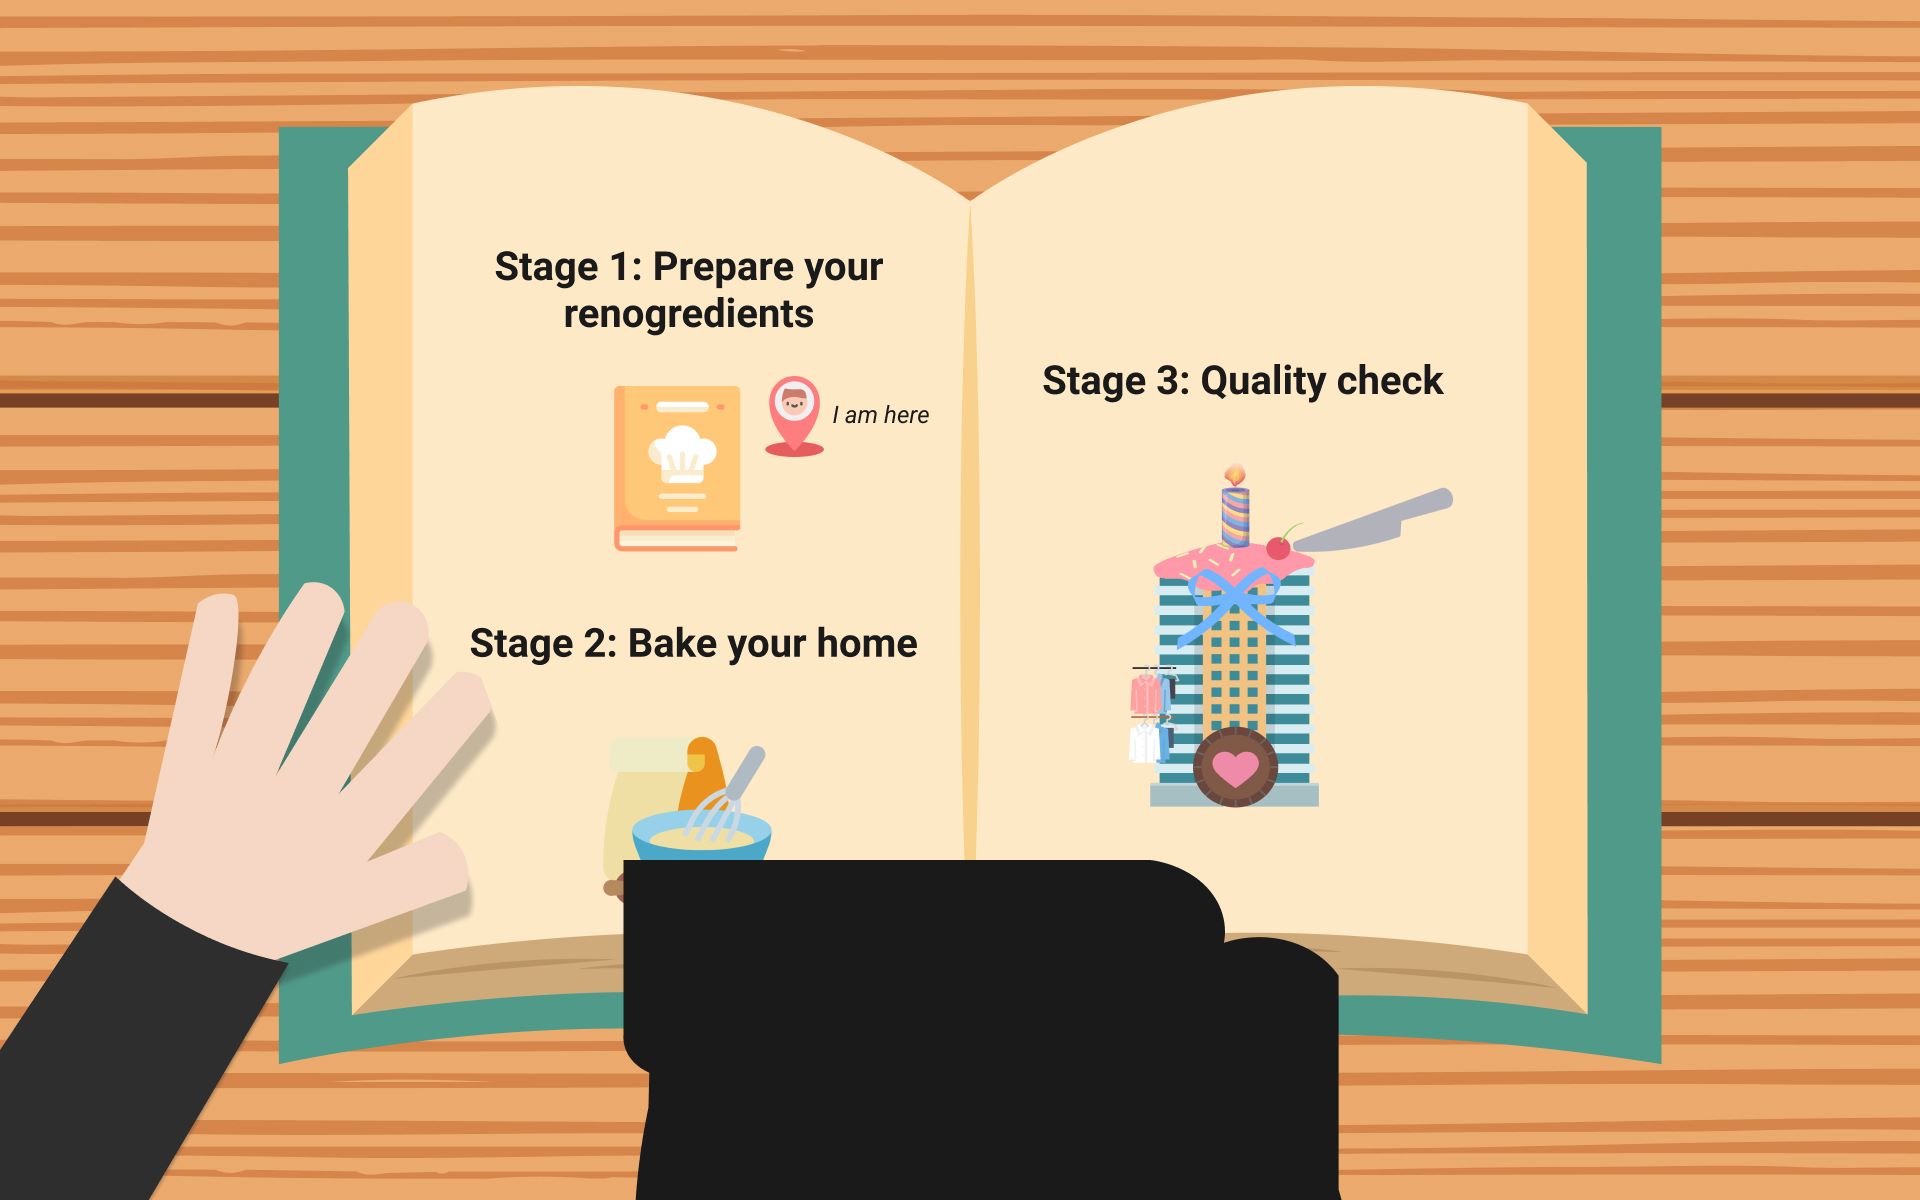
The “Reno-cipe” consists of three stages.
- Stage 1: Preparing ingredients — Plan your renovation
- Stage 2: Bake your home — Execute your renovation
- Stage 3: Quality Check — Ensure renovation is defect-free
1. Prepare your ingredients
To bake a delicious cake, we need the right amount of quality ingredients. Planning for your renovation is no different.
Let’s look at these five “ingredients” for planning your renovation.
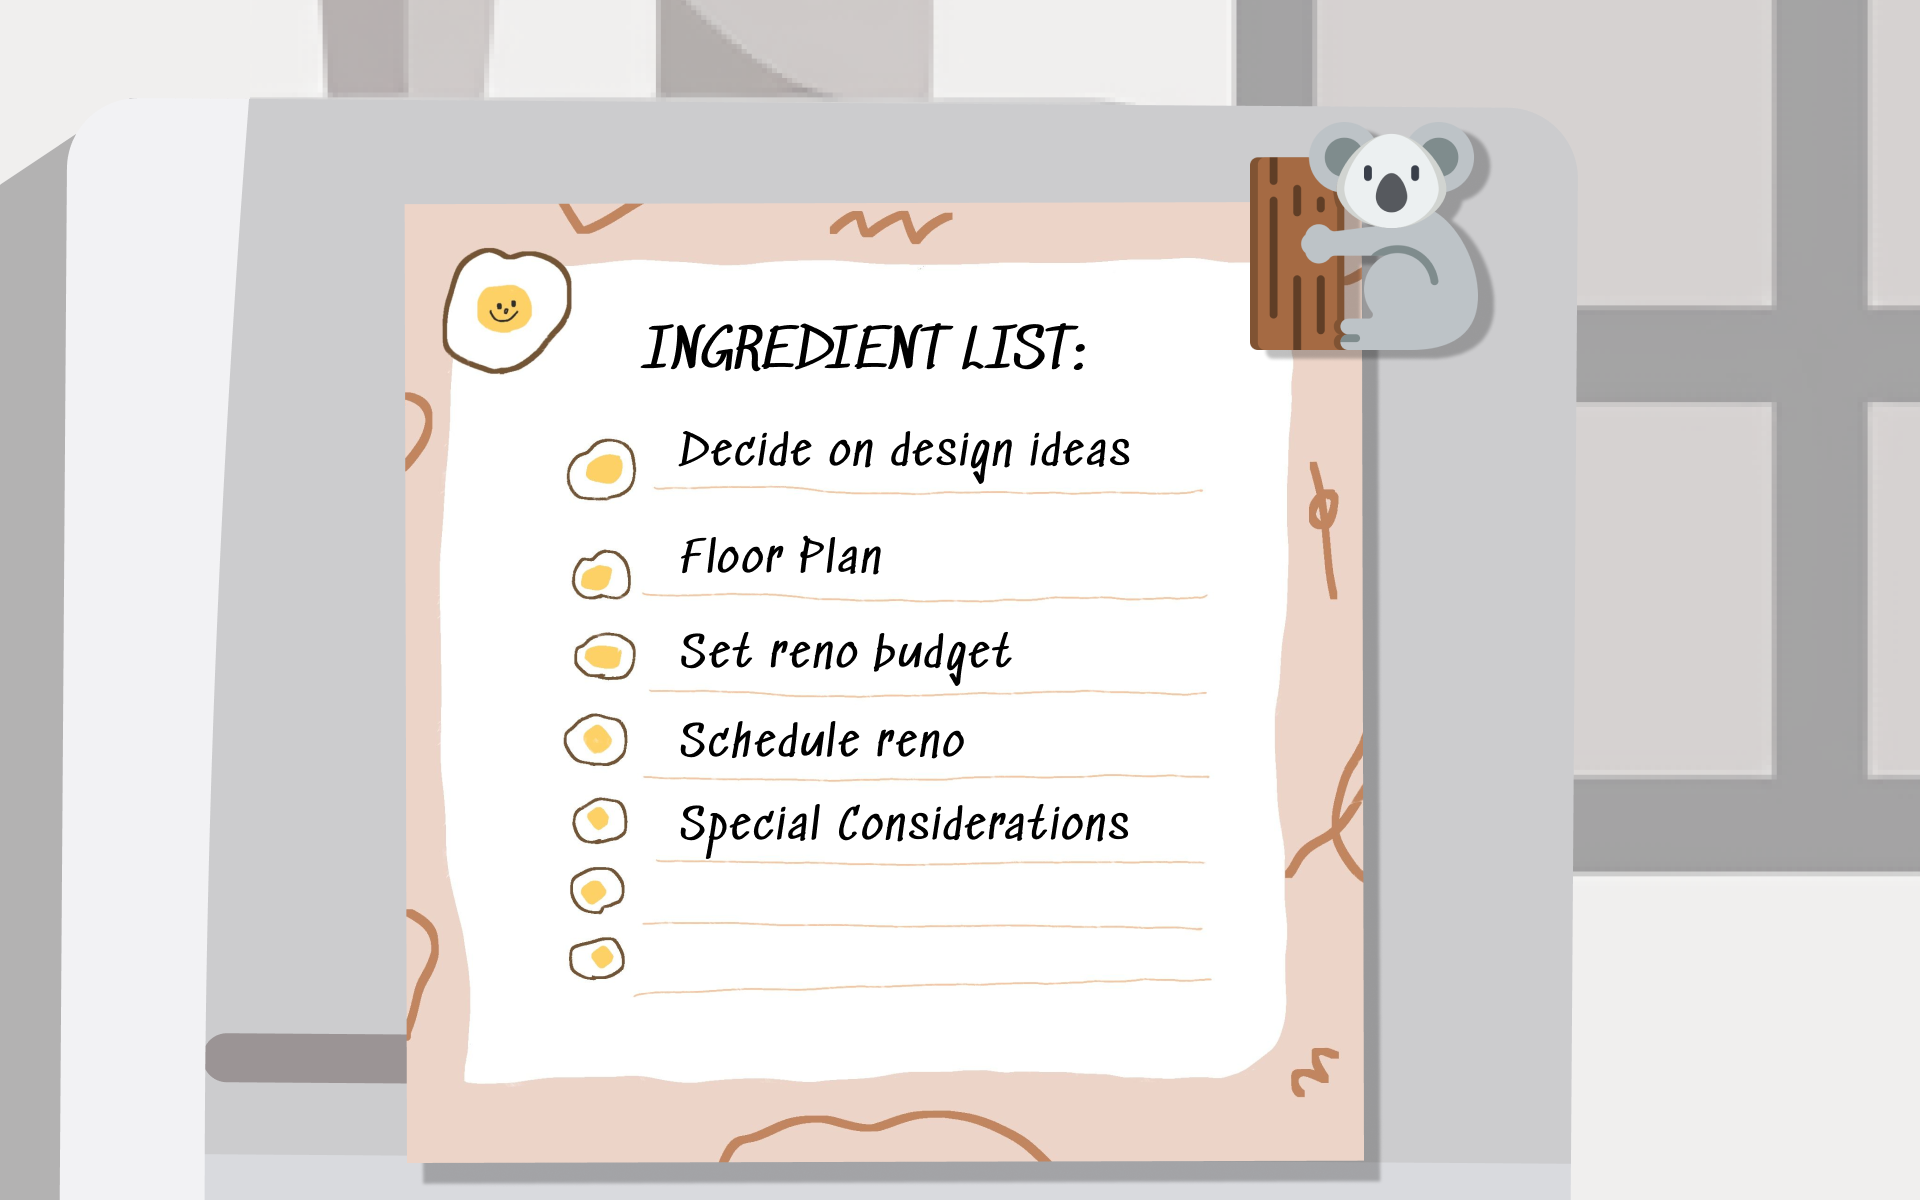
Decide on design ideas
A home without a design is like a cake without flavor. So get your design ideas prepared.
Visit local museums, art galleries, botanical gardens, or even hotels. Gather ideas from film, music, or thumb through interior design magazines.
Most people start by choosing an established design style like Scandinavian or Industrial.
If you aren’t sure which style fits you, take our design style quiz to find out.
Once you’ve decided on your favorite style and theme, create your mood board. A mood board is a collage of visuals representing ideas for a design style.
Get your floor plan
A floor plan is a scale drawing of your home. It’s a necessary document to do any interior design.
If you don’t have it, purchase it online for a nominal fee (HDB). For condominiums, get it from your MCST.
Set a budget
Too little flour, the cake will fall apart. Too much, and the cake will be tough and dry. Even with the best ingredients, everything can go wrong if we don’t add the right amount.
Similarly, too low a budget may leave you unsatisfied while too high a budget may strain finances. You need to settle on a realistic range.
Take note of these action points to prepare a realistic budget:
- Learn about estimated home renovation costs and what impacts them.
- Use an online tool to calculate your budget.
- Find ways to finance it.
By the end, you should have a realistic budget that you know can be funded.
Schedule your renovation
Know your renovation timeline, so you don’t leave the cake in the oven for too long. You will need to decide which provider to select to know you can complete the renovation in time for moving in.
To prepare this ingredient well, you should have a checklist with a deadline for every item.
Below are some general guidelines to follow when setting your deadlines:
12 months before key collection: Firm up design
6 months before key collection: Ready your budget
3 to 6 months before key collection: Source for interior designers
1 month before key collection: Choose an interior designer
Special Considerations
Those living with the elderly, pets, or kids may have special design requirements, e.g., child-friendly sliding kitchen doors.
List your unique requirements to provide clarity for your interior designer.
Mise en place
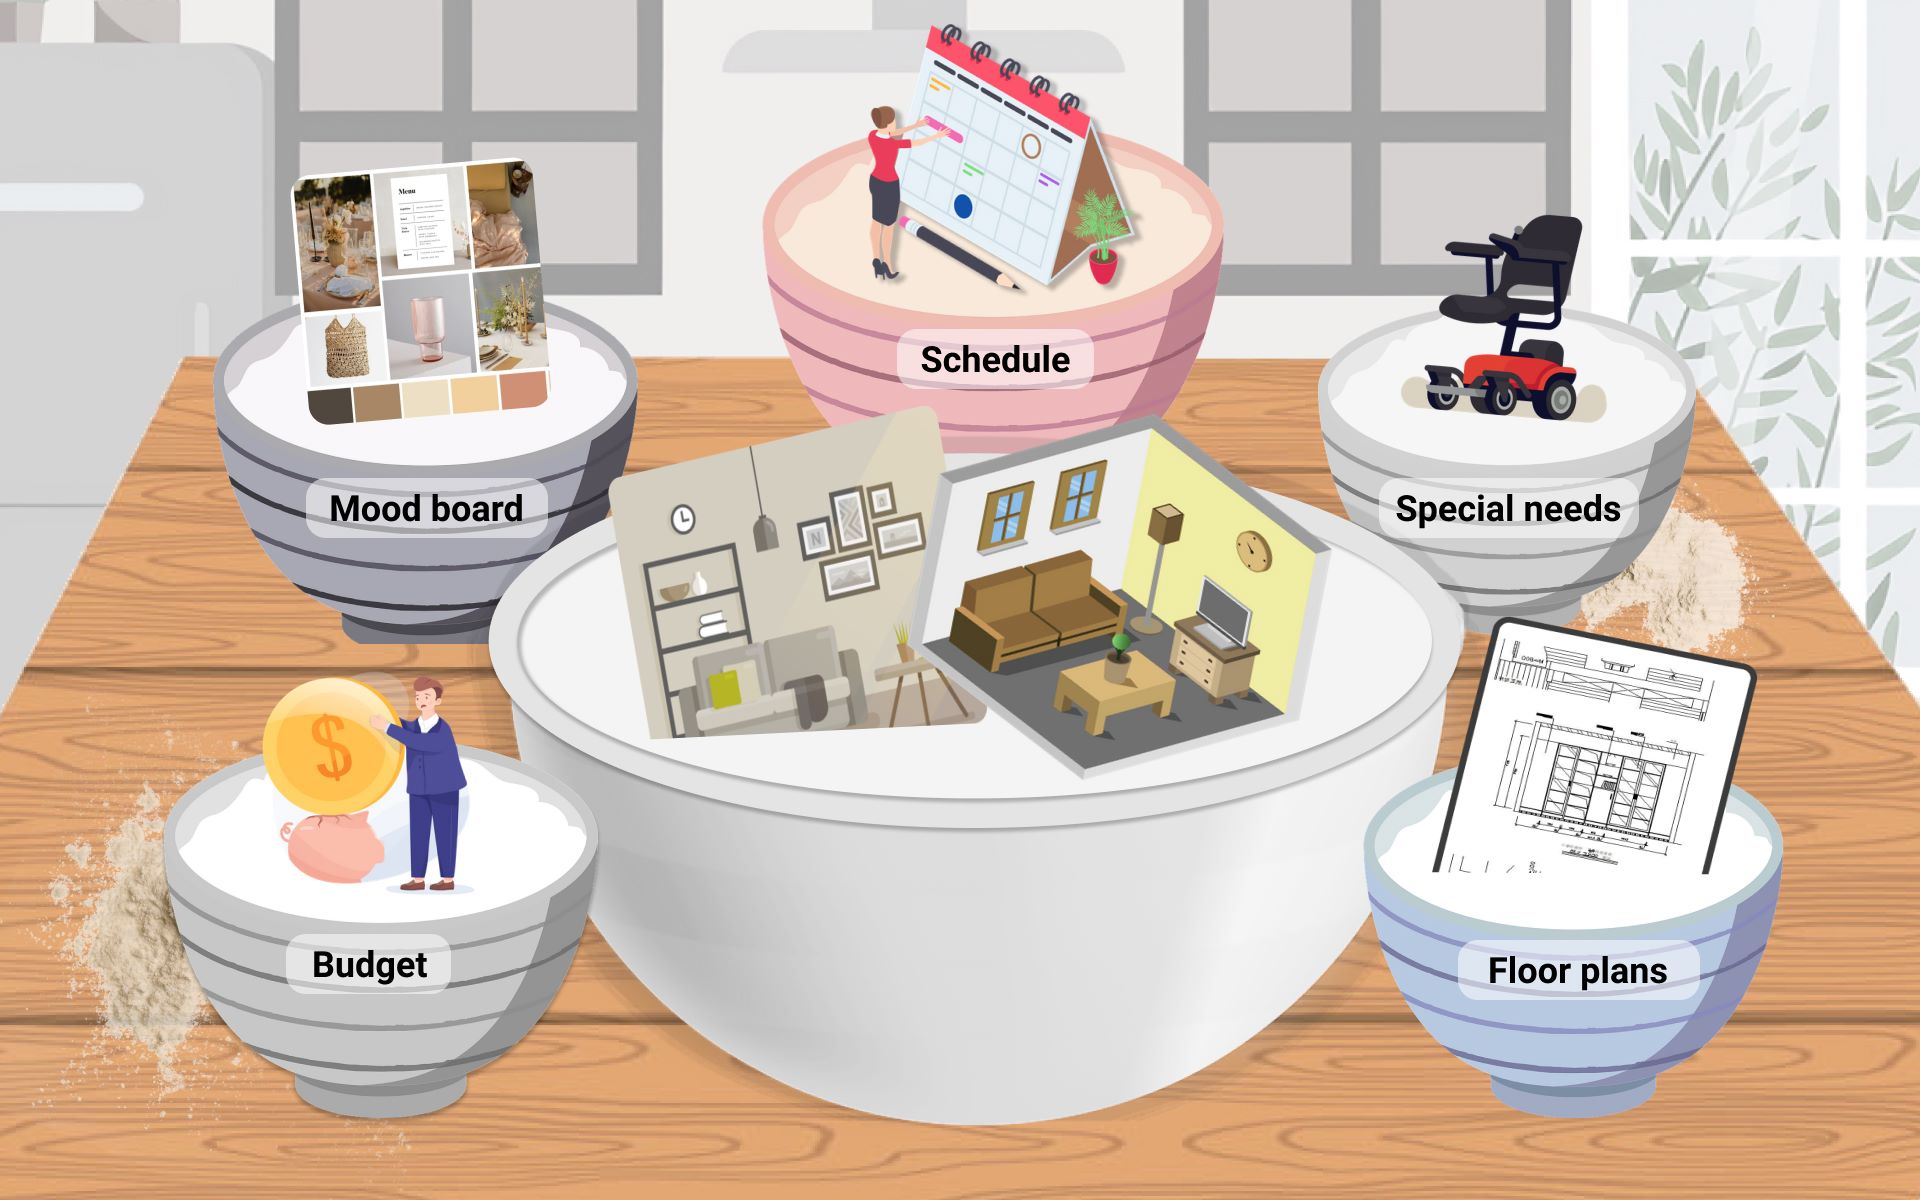
Mise en place is french for “everything in its place”. What it means to the baker is to organize your tools and ingredients before starting to bake.
You should have these five things by now:
- Moodboard
- Floor plan
- Budget
- Checklist with deadlines
- List of special needs
Let’s dough it!
2. Bake your home
Choose your setting: Interior Designer or Contractor

In baking, you need to select your oven settings before baking. Likewise, in a renovation, you need to choose between an interior designer and a contractor.
Some factors which may affect your decision are your budget, the extent of the renovation, post-renovation services, and how involved you can be (choosing between an ID or contractor).
Place the ingredients in the oven
Once you have decided on the settings, gather the five ingredients and put them to work.
It’s time to contact and meet up with your chosen provider. Send them your ingredients in advance, so that they know what you want. Then shortlist the companies that impress you most with their rapport, creativity, and cost (shortlisting tips).
Let the renovation commence
Before your renovation begins, you’ll need to sign a quotation. We’ll help you understand typical scopes of renovation work like masonry and plumbing in this quotation guide (coming soon).
You’re now ready to pick the best provider from your shortlist with some helpful tips like checking their area of specialization and asking them for after-sales service and warranties (selecting a provider).
Monitor the progress
Unforeseen changes
A variation order happens if there's an update to the scope of your project due to unforeseen circumstances. E.g., Discovery of a damaged pipe in a resale flat.
Depending on the change, it may eat into your budget, delay your project’s completion, or both.
While unfortunate, variation orders are hard to avoid. When they happen, ensure that any changes are documented in writing by your interior designer.
Change of mind mid-way
You might be the one who imposes variation orders if you decide to upgrade fixtures mid-renovation. In this case, expect to pay more. The amount will depend on the volume and complexity of additional work required. The project will also take longer to complete.
3. Quality Check
At this step, your home should be in perfect shape and ready for decoration.
But before you start decorating, take these steps to ensure the renovation is done well.
Final walk-through with your provider
Do a final walk-through with your provider before signing off on the renovation.
Identify and point out renovation defects that need rectification.
Here are some things you can look out for:
- Is the flooring evenly laid out? If you went with vinyl, ensure there isn’t any part jutting out.
- Check your floor skirting. Is it evenly trimmed? To prevent injuries, ensure that there are no sharp edges at corners.
- Open and close your cabinets and wardrobes a few times. Are the hinges working? Are the drawer tracks running smoothly? If you have soft-close mechanisms, make sure they are working well.
- Check the surfaces of your carpentry work. Are there any dents or scratches?
- Check the painted walls. Are there any chips or smudges?
Clean your home and clear the air
Renovation works may involve chemical substances which emit harmful fumes that linger after renovation.
To get rid of these pollutants, ventilate your home. Open up all windows and doors to let air flow through.
Double up with a HEPA filter air purifier and set it running for a full day or two to absorb harmful particles.
Summary

And we’re finally done.
We hope you found our Reno-cipe useful in helping you kickstart your renovation.
If you want to read more of our articles on renovation journeys, check out our portfolio stories.
And if you’ve got questions, feel free to contact us. We’d love to hear from you.
Have fun planning your renovation and baking your first cake.


